Showing posts with label Step By Step. Show all posts

Tuesday, July 27, 2010

Life Lessons


Closing in on 40 makes you ponder. One area of my life that I desire to grow in is my view of money. I feel like I should have more figured out by now, but this might always be an area of growth for me. 


Lately, I've been desiring more simple in our life. Downsizing to one income and having more time have spurred my search for savings. I'm happy to share what I've found in case it might benefit your budget too. 


Insurance. Shop around. It's takes time, and you'll have to sit on the phone or fill out internet forms to get quotes, but so worth it. I switched companies for our car, home and renters insurance and saved 1500/year. Get your current insurance in front of you so you can compare apples to apples. 


Technology. Look closely at your cable + internet + home phone bill. What can you cut back on? Do you really need the fastest internet? Do you need three TV's? How about dropping some movie channels or a channel package? Did you know that bundling your services will save you a bunch of cash? With our company, adding phone service took a chunk of change off our bill. I also dropped one TV box and one channel package, saving another 20/month. 


Medical Bills. It doesn't hurt to ask. Be bold. I recently asked the hospital billing office to cut my bill in half. They thought about it, and cut it by 1/3. I asked for another 10% off if I paid the bill right then, and they agreed. Bam. 


Entertainment. Think ahead. We buy movie tickets for 1/2 price at San Diego State's ticket office. That means we can go to twice as many movies. I write the best happy hour deals down on our calendar so we're ready when it's date night. Many museums have free admission one day a month. Track it. 


Red Box. I make a pledge to drive the .8 miles to the Red Box for $1 movies instead of ordering On Demand from Cox for 5.99. Willpower. 


Red Laser. Don't you love taking items at Target to the red bar-code reader? So fun. Now you can download the Red Laser app for your IPhone. Scan the bar-code with your phone and it will price-check different stores and find you the cheapest price. Wow. You have to admit that's life changing. 


I promise to share more saving + simplifying tips as they happen in my life. 
Cheers to more cash for lattes and money in the savings account! (In that order)

Wednesday, June 16, 2010

Summer Journals


One of our goals with Lincoln this summer is keeping a journal. I decided to do a journal-making project this week before the end of school. 26 kids, one teacher (who is ready for summer!), Harrison and I. Good times. 

Here's the scoop on what we did. 

1. Used basic composition books and downloaded this template for inside the front cover. Cut out a picture of each child for inside the template. 

2. Offer a variety of options for kids to create their own cover. Fun fabrics, paint, watercolor sticks, coloring books to cut out, construction paper, scrapbooking paper, magazines, etc.

3. Wrote out a list of summer journal ideas for them to copy into their front cover. Some of ours included: vacation, nature, daily record of summer activities, dreams, good ideas, and summer camp. 

4. Decorate cover. We used modge podge over the top of the covers so they can take a beating this summer. 

5. Start writing. Get creative. Write your little hearts out. 

Look at these adorable faces. Have a great summer Room 5!

Monday, June 7, 2010

Everybody Has One

A junk drawer. Don't pretend you don't have one. It's the place you shove things when you need your counters clean quick. Catch all for the miscellaneous items that you don't have a place for, yet you want to know where it is. Problem is, when you need the item it takes 1/2 hour and a few choice words to dig it out. 

Today's project was organizing the junk drawer. This mess was produced rather quickly since we just moved here in February. But it's a big drawer and there was an large amount of junk in there. Here's how I did it in 20 minutes. 

1. Made three piles : Throw away, Find a new home, Back in the drawer. (HGTV)
2. Mercilessly added things to the throw away pile. NO PAPER, except a notepad, can go back in the drawer. 
3. Put everything in the "new home" pile away. (longest step) 
4. Wiped drawer. Arranged these Made Smart containers in drawer. (Target) 
5. Arranged remaining items by category. 

Afterwards, Lincoln said to me. "Mom, it's not even a junk drawer anymore." That's the idea. 

Junk Drawer Before 
Junk Drawer After 

Monday, May 24, 2010

Flowers for Amateurs

I'm one of those women who doesn't wait for my husband to bring flowers home. I buy them for myself. And who can pass up pink gerbers?

Picked these up on sale at the grocery store this weekend. Had found this retro vase last weekend at a yard sale, and had left-over rocks from the big party we had a few weeks ago.

Here are my tips on arranging beautiful flowers in your home on a budget...

1. Skip the big "mixed flower" bouquets. Choose a bouquet with one or two types of flowers with greenery that you love. My favorites right now are sunflowers, gerbers and lilacs. Dahlias are on my summer list.
2. Whenever you see unique containers on the cheap, pick them up. My favorite things to arrange flowers in weren't intended for flowers at all. Unique vintage vases are another good choice. Line the vase with rocks or other items to hold your stems. Fill with water to within a few inches of the top.
3. Measure your stems to the height you'd like for your vase, cut at an angle and immediately submerge in water. I like to do the flowers first, greenery after.
4. Secure your stems in the rocks or other stabilizer. I like to have a few in the center that are slightly taller than the perimeter stems. Fill in with greenery between the stems, but not in front. They should make the arrangement look more full, but not draw attention.
Just like you picked it up at the flower shop, but at a price you could spend every week.

Friday, May 21, 2010

Rental Decor

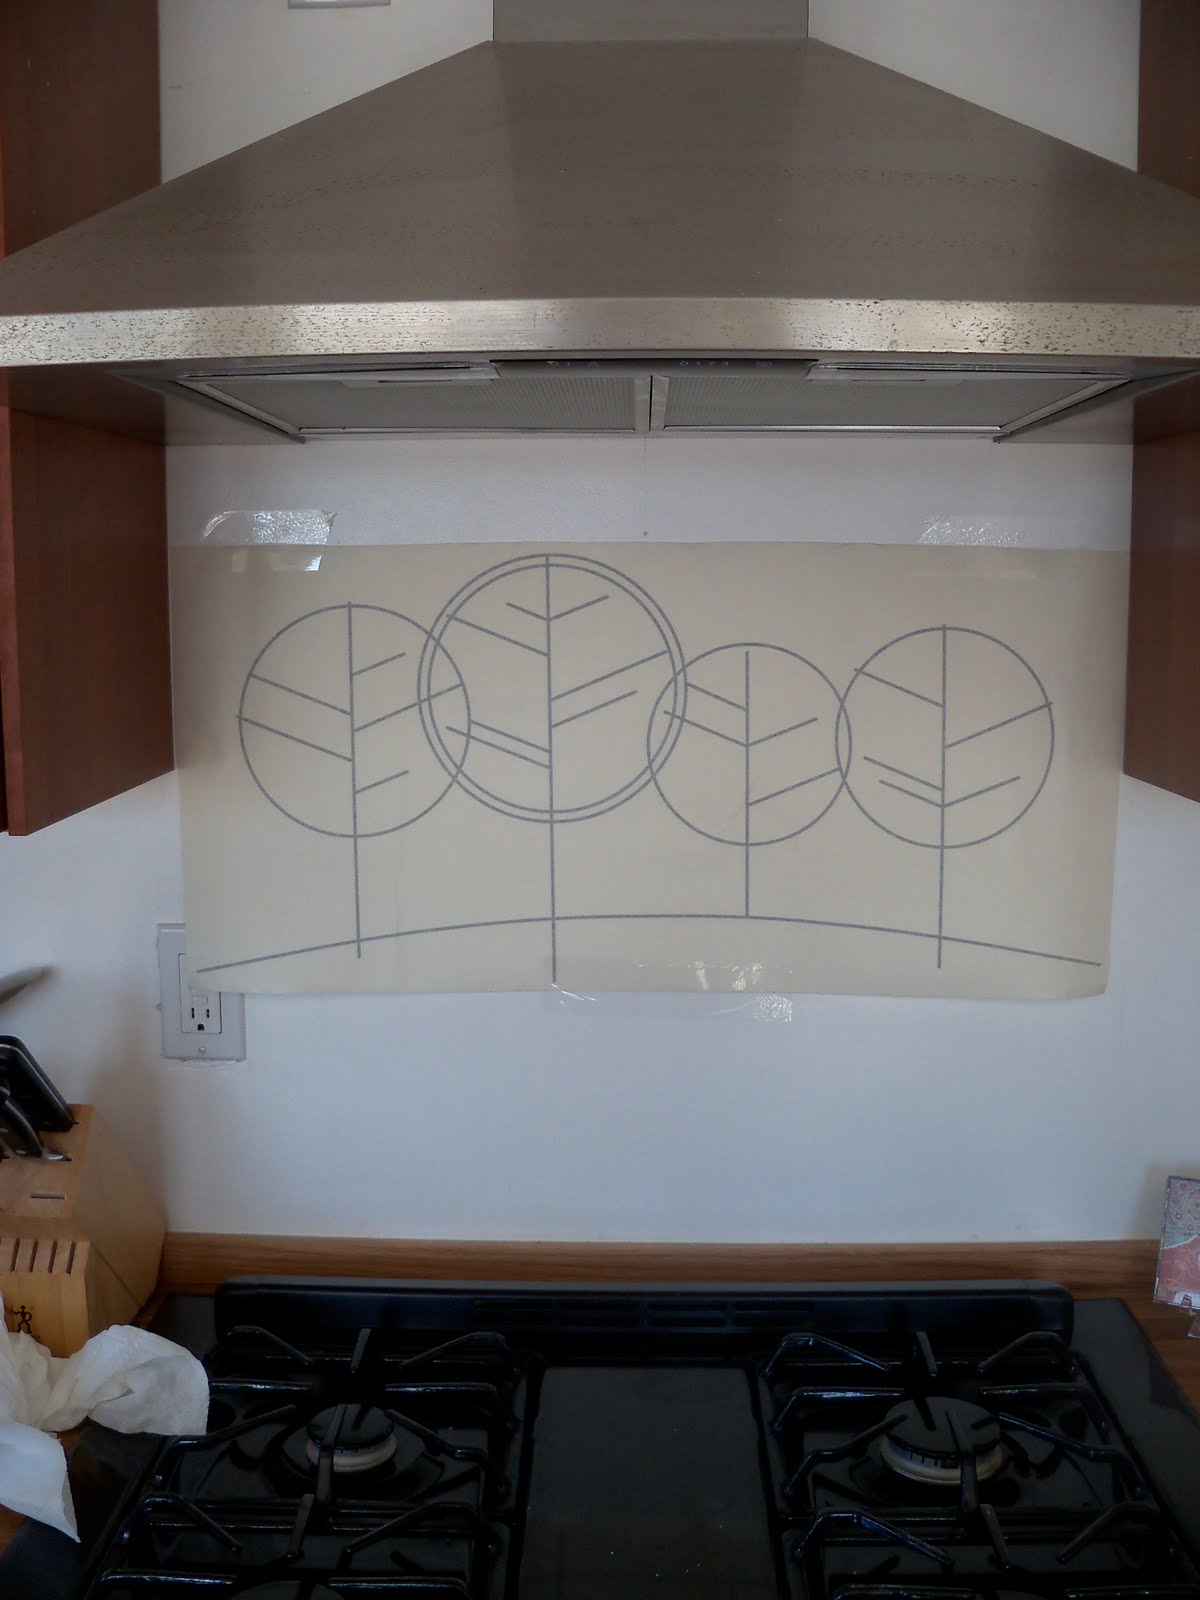
There are lots of things I love about the Giant Peach's kitchen...the island, view and cabinets...but it's just plain white. And that's just not me. So keeping in mind that this is a rental, vinyl decals are the perfect way to add some design, with a budget in mind.

I've had this decal from Tasty Suite for awhile, but just decided to apply it today.
Here's the details in case you want to try one of your own.

Step 1: Tape decal (with paper backing still intact) onto wall and mark top with pencil.
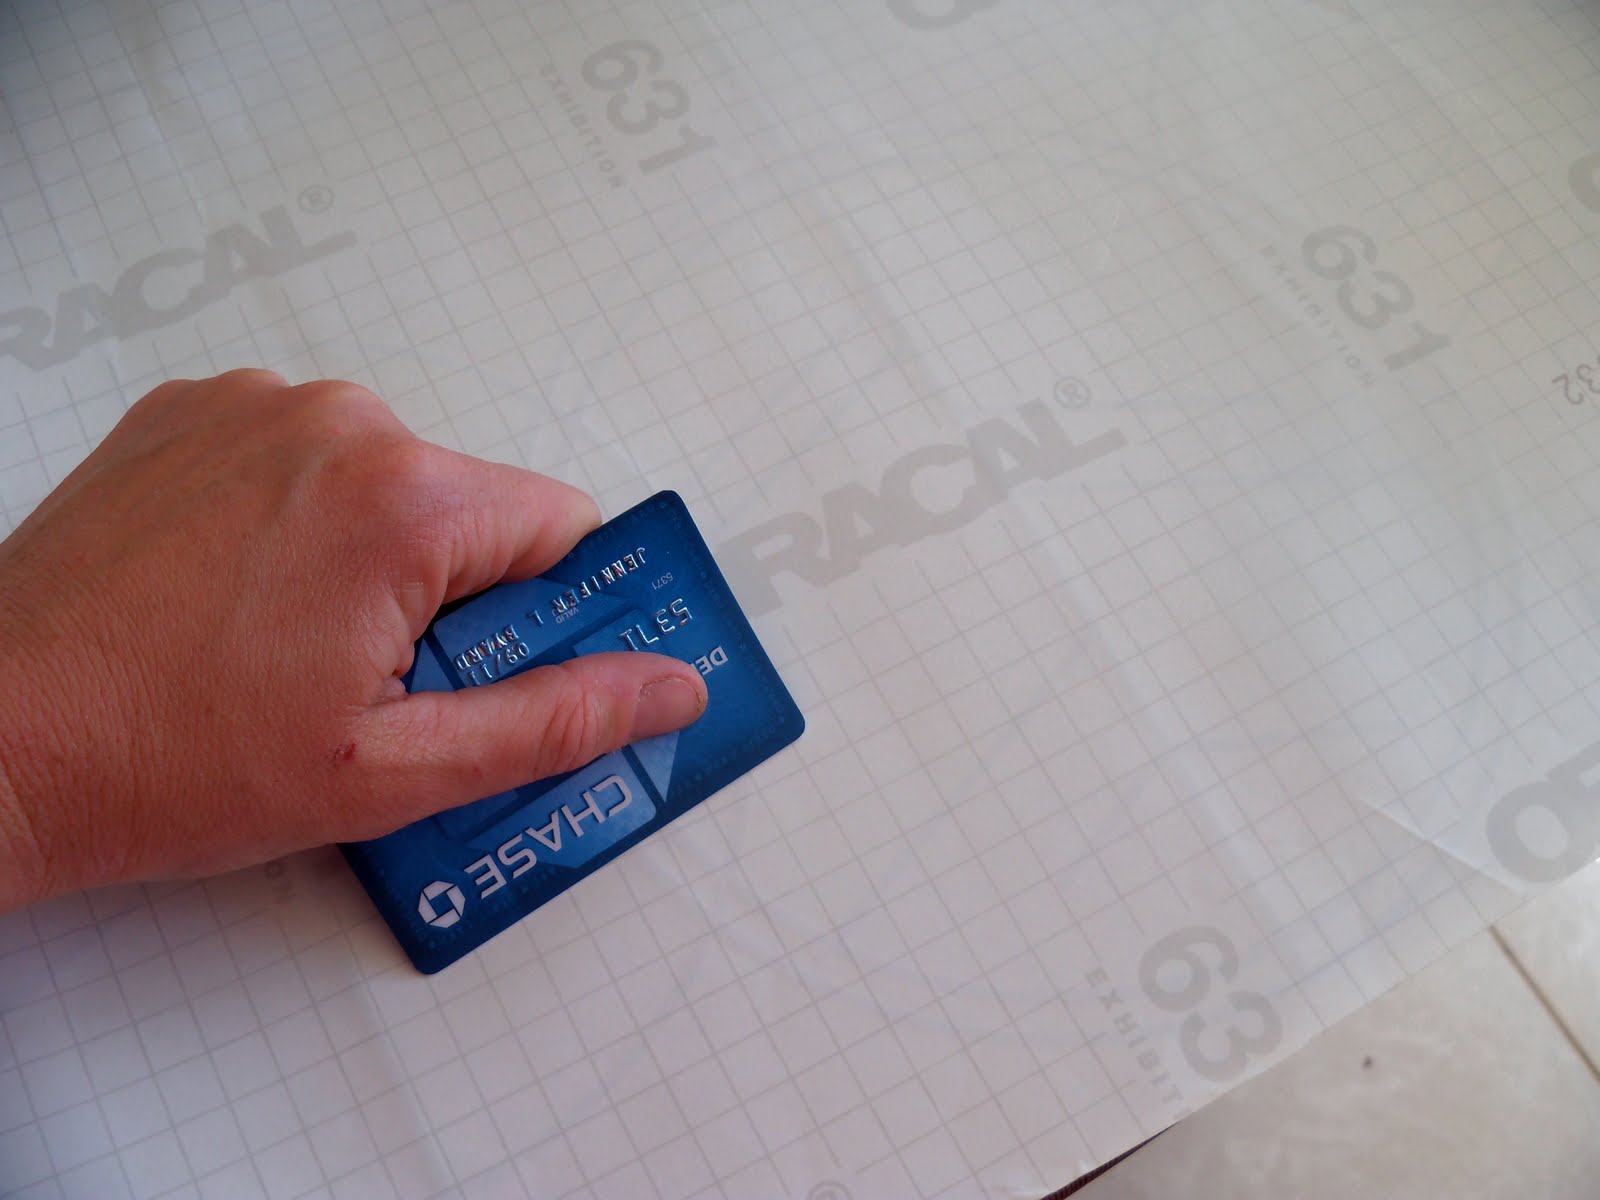
Step 2: Lay decal on flat surface, paper backing up, and use credit card to rub along decal lines to be sure it's stuck to the adhesive side.

Step 3: Pick one corner and very slowly peel paper backing off of decal. If any part of the decal starts to come up with the backing, lay it back down and rub with credit card until it sticks to the adhesive side.
Step 4: Once the paper backing is completely removed, place the decal and adhesive on the wall and smooth completely from one side to the other using your hand and credit card. Rub the decal lines with a credit card to ensure it's attached to the wall. Slowly peel back the adhesive. If any part of the decal comes up as you are doing this step, replace the adhesive, rub with credit card, and try again.

Much better view for making coffee and scrambling eggs.

Sunday, February 21, 2010

Easy Valances

My rental windows needed a little help.
Color + cover mini blinds = velcro valances.

Here's my quick velcro valance tutorial...

1. Choose print fabric and cotton backing. I like bottom weights for the back because they are thicker and make the valance lie flat.

2. Measure your window width. Add one inch to the width for seams. I like an eight inch length, so I cut my fabric at 9 inches.

3. Lie your fabrics right side together, cut out desired size and pin around the valance.
4. Stitch around valance with 1/2 inch seam. Leave 3 inch opening on one side for reversing the fabric.
5. Check valance seams against your window opening before turning valance.
6. Turn valance inside out.
7. Use scissors to fully push out valance corners. Pin the opening closed.
8. Iron seams flat and straight. Iron body of the valance.
9. Stitch around valance with 1/4 inch seam.
10. Use industrial strength, sticky back velcro. Cut into 1 inch pieces. Adhere 4 pieces across the top of the valance, and one pieces at each bottom corner.
11. Remove velcro backing and press firmly on all four corners, and mid-valance.

Related Posts with Thumbnails